Repurposing a HPE/Nimble CS1000
another day, another rebadged SuperMicro
I picked up a HPE/Nimble CS1000 array for the low low price of free a while back, and it’s sat in storage since. about time I did something with it!
these are rebranded SuperMicro “SuperStorage” SSG-6048R-DE2CR24L
units - featuring two compute nodes (X10DRS-4U - each with two LGA2011 R3
sockets + 8 DIMM slots), and a 24-bay 3.5” SAS backplane (where both compute
nodes have access to all drives at the same time, designed for HA/redundancy),
in a 4U chassis. the nodes also have a direct Fast Ethernet (100Mbit)
connection, plus 8 lanes of PCIe 3.0, between each other.
both nodes in the unit I have are the following spec:
- single Xeon E5-2603v3 (6 cores at 1.6GHz, no SMT)
- 2x 16GB DDR4 DIMMs
- one 8GB NVDIMM (with an attached battery pack)
- 4GB USB flash drive as the boot media
- Silicom dual-10GbE SFP+ NIC in the first PCIe slot
just like the previous re-badged SuperMicro unit I toyed with, it should be possible to reflash the nodes with the normal SuperMicro BIOS image to turn them back into “normal” machines.
before I started this process, I removed the NVDIMM, and the secondary NIC, from both nodes. this probably wasn’t necessary, but pays to be safe. I pulled out the USB drives too, so that they didn’t boot into NimbleOS.
I grabbed the BIOS update file from the SuperMicro website, created a FreeDOS USB stick with Rufus, and copied the DOS flash tool along with the BIOS image to the FreeDOS drive. plugged that into the internal USB3 socket on the node motherboard, booted it up, and tried to flash. the flash tool said it needed to reboot the system into an Intel ME maintenance mode to continue, so I let it reboot… and then it came back up saying that the hardware doesn’t support switching into ME maintenance mode from software. makes sense I guess.
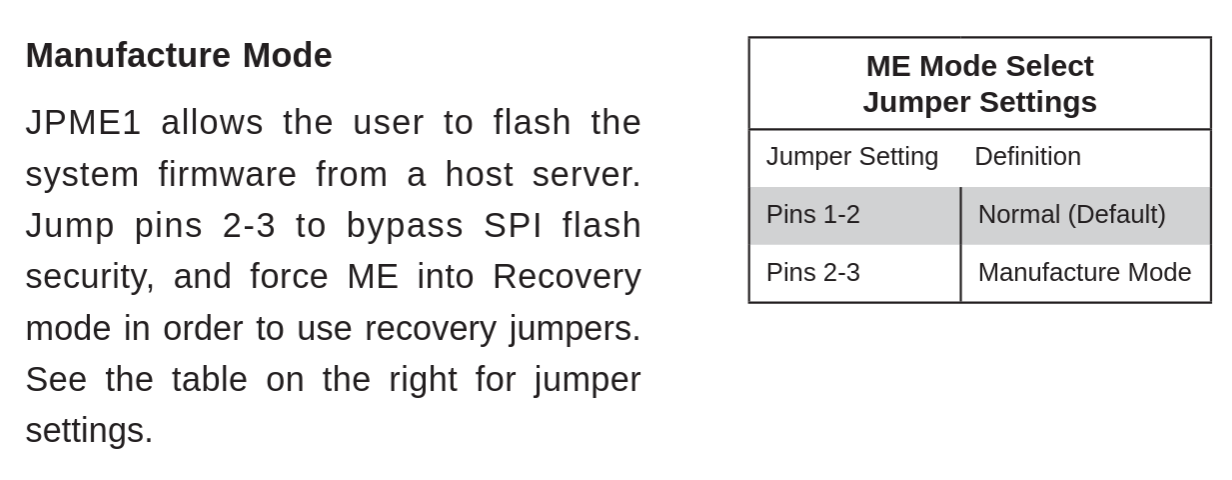
looking at the manual, there’s a jumper on the board which you have to move, before the flashing will work. but… after moving the jumper, the nodes wouldn’t boot up at all. I guess the custom Nimble BIOS checks for that, to avoid people tampering with the things. that’s not gonna stop me, though!
I came across a Reddit (ugh) post with a potential solution for a similar board - adding a couple flags to the invocation of the flasher tool.
instead of modifying the FLASH.BAT that ships with the BIOS update,
I opted to copy the firmware file (X10DRS9.B19) and the flasher tool
(AFUDOSU.SMC -> AFUDOS.EXE) to the root of the drive, and add a line
to the end of AUTOEXEC.BAT to run the flash tool with the right flags
instead:
AFUDOS.EXE X10DRS9.B19 /P /B /N /K /R /X /GAN
the first node I updated appeared to hang during the post-flash verification step. I figured “well, I’ve got a CH341A and a SOIC-8 clip here anyway, may as well just reboot the damn thing.” and so with fingers crossed, I pulled the power, waited 10 seconds, and plugged it back in.
and it sprung to life, with a SuperMicro splash screen!
updating the second node with the same procedure worked fine too - and with no hang (it rebooted itself after the flash completed). yippee!
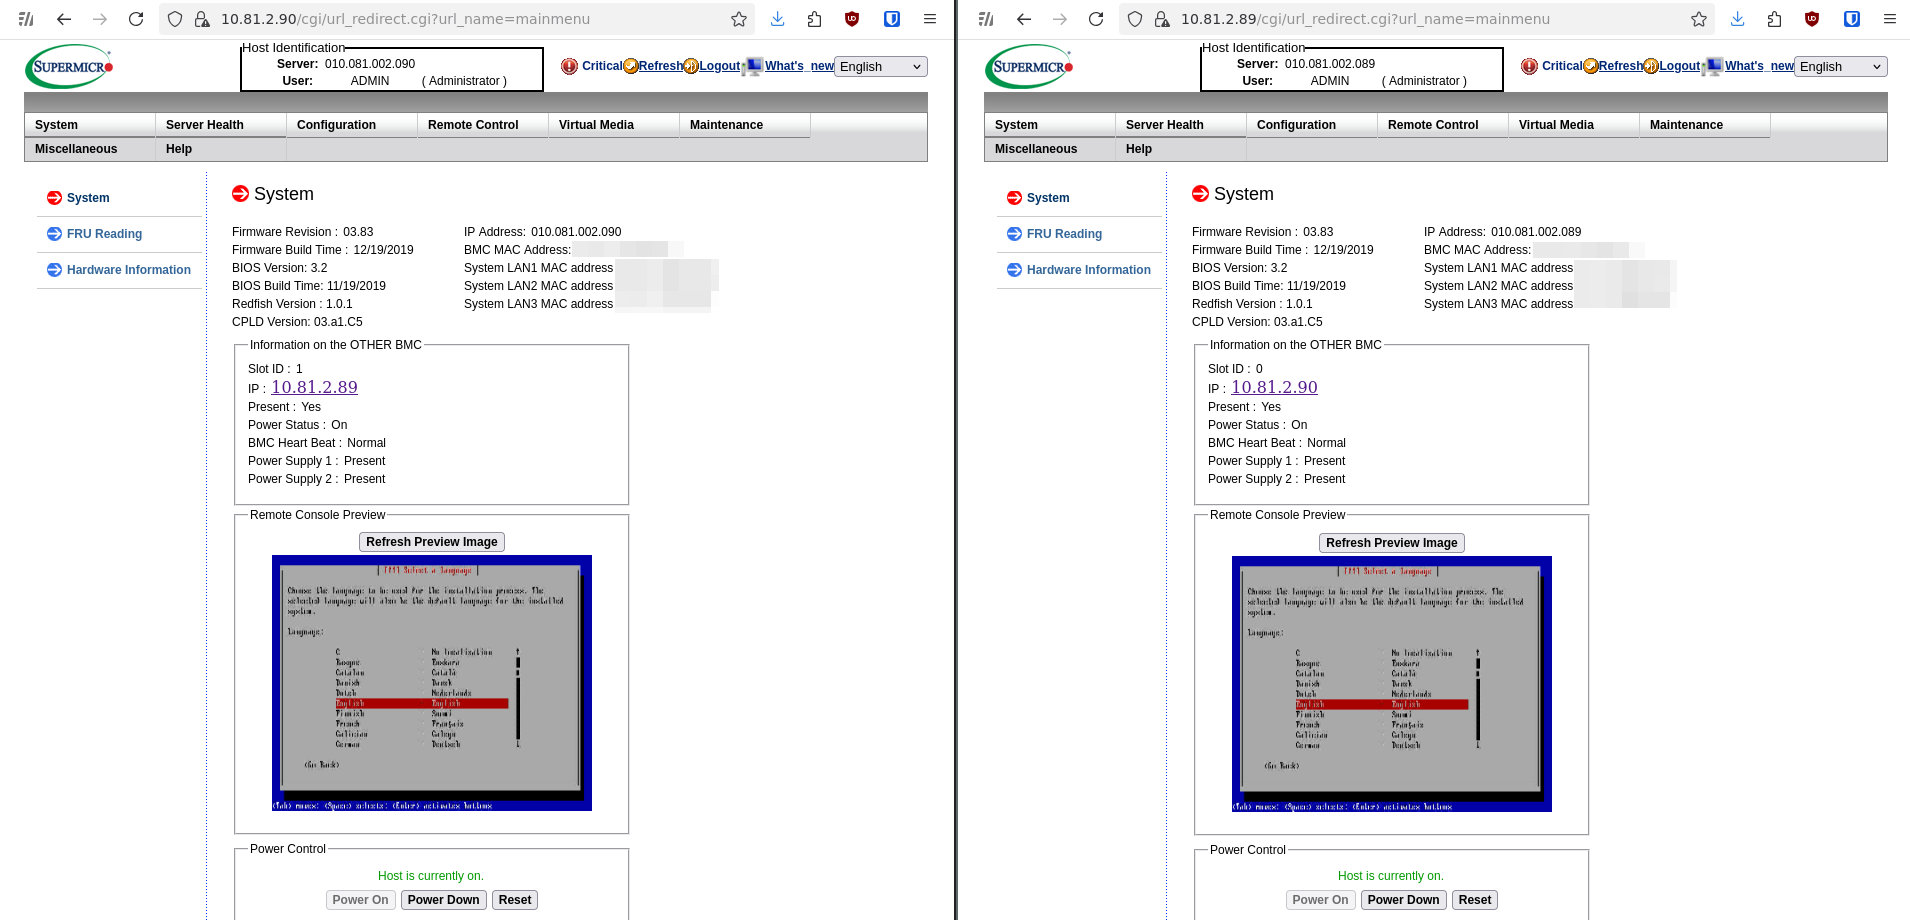
I could then get into the BIOS setup on both nodes and change the BMC
network config to DHCP, log into each node’s IPMI web interface
(which, thankfully, was set to the default ADMIN/ADMIN), and
update the BMC firmware. that worked with no issues!
I’m planning to put Proxmox on both of the nodes, but I need to get some new SSDs first - so that’s an adventure for a later post.
here’s the firmware archives I ended up using, both of which were easily accessible from
the SSG-6048R-DE2CR24L page on the SuperMicro website:
![simplified diagram of the front and back of the Nimble CS1000 chassis] simplified diagram of the front and back of the Nimble CS1000 chassis]](https://archive.catstret.ch/media/nimblec1k-overview.png)

